[iOS/Android] How to Add Location on Instagram?
Adding a location to your Instagram posts or business profile can boost engagement, increase visibility, and help people discover your brand or content. Whether you’re trying to add a new location, your business location, or a spot that doesn’t exist, it’s essential to understand the process to get the best results. In this guide, we’ll walk you through the steps on how to add location on Instagram, including how to add a new location or a business location. Plus, we’ll cover what to do if your desired location isn’t available.
Part 1: How Does Instagram Source Specific Location Data?
Instagram sources specific location data through various methods to ensure accuracy and relevancy for users. Here’s how Instagram gathers and utilizes this data:
- GPS and Geolocation Services: Instagram accesses your device’s GPS data to provide real-time location information. This is enabled when you allow location services on your smartphone, helping Instagram pinpoint your exact location for tagging in posts or stories.
- User-Generated Locations: Users can create new locations when a specific place doesn’t already exist in Instagram’s database. This data, once submitted, is often verified and added to Instagram’s pool of locations.
- Third-Party Data Providers: Instagram may partner with third-party services to supplement its location database with additional or verified location data, enhancing accuracy.
Part 2: Why Need to Change Location on Instagram?
Changing your location on Instagram can be beneficial for various reasons, depending on personal or business needs. These are key reasons why you might want to change your location on Instagram:
- Increase Local Visibility: For businesses, updating your location helps attract local customers by making it easier for them to find your posts and profile when searching nearby services or places.
- Target New Audiences: If you’re traveling or expanding your business to a new region, changing your location can help engage with a new audience, boosting reach and interaction from users in that area.
- Boost Engagement: Posts tagged with popular or relevant locations can draw more attention and interaction, as users often browse content linked to specific locations, increasing the chances of your post being discovered.
- Optimize for Events or Promotions: If you’re hosting an event, launching a product, or running a promotion in a particular location, updating or adding that location can make your marketing efforts more effective by reaching people near the venue.
- Enhance Personal Branding: Influencers and content creators might change locations to showcase their travel experiences or target followers interested in specific destinations, helping to build a more dynamic personal brand.
Part 3: How to Add Location on Instagram?
3.1 How to Add a Custom Location on Instagram
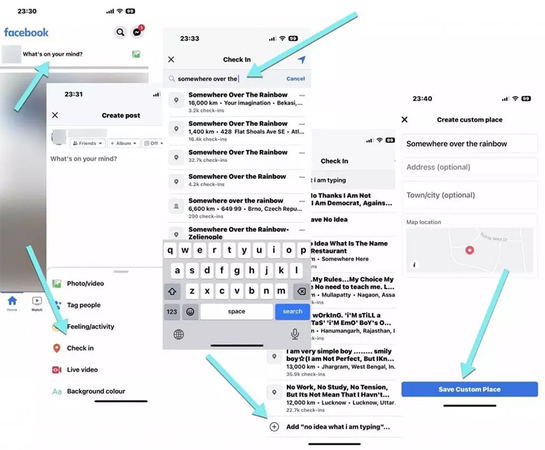
To add a custom location on Instagram, you need to create a location using Facebook, as Instagram pulls location data from it. The steps include;
Step 1: Open the Facebook app and go to the “Check-in” feature.
Step 2: Enter your desired custom location name.
Step 3: Select “Add new location” and choose the correct category.
Step 4: Add your custom location and save it.
Step 5: Once your custom location is created on Facebook, tag it in your Instagram posts by typing it in the “Add Location” field when sharing a post or story.
3.2 How to Add Your Business Location on Instagram
To add your business location on Instagram, follow these steps:
Step 1: Go to your Instagram profile and tap the “Edit Profile” button.

Step 2: Scroll to the “Public Business Information” section and tap “Contact Options.”
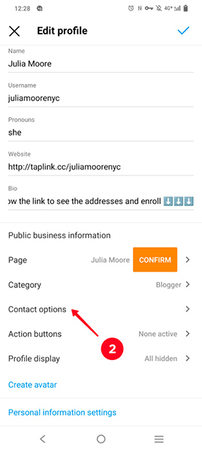
Step 3: Select “Business Address” and enter your business location details, including street address, city, and zip code.

Once completed, save the changes.
Your business location will now appear on your profile. When people visit your profile, they can view your business address and tap it to get directions or see your location on the map.
3.3 How to Add A Location on Instagram that Doesn’t Exist
To add a location on Instagram that doesn’t exist, you first need to create it on Facebook. Here’s how:
Step 1: Open the Facebook app and use the “Check-in” feature.
Step 2: In the search bar, type the location name you want to add.
Step 3: Scroll down and tap “Add your custom location.”
Step 4: Choose a category and add the address details.
Step 5: Save the new location.
After the location is created on Facebook, it will become available on Instagram. When posting, you can search for it in the “Add Location” field and tag it in your posts or stories.
3.4 How to Add a Location on Instagram when Sharing Post
To add a location on Instagram when sharing a post, follow these steps:
Step 1: Create a new post by selecting a photo or video.
Step 2: On the “New Post” screen, add any filters or edits, then tap “Next.”
Step 3: Below the caption field, tap “Add Location.”
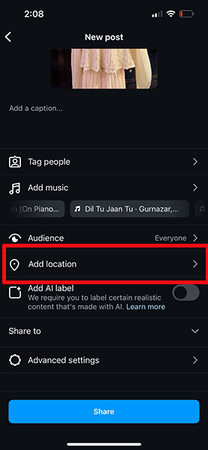
Step 4: Search for or select a location from the list that appears.
Step 5: Once you’ve selected the location, complete the post by tapping “Share.”
Your location will appear above the post and be visible to your followers. This can help people find your content based on geographic interest.
Part 4: Is it Possible to Fake Location on Instagram?
Yes, it is possible to fake your location on Instagram using a tool like MocPOGO. MocPOGO Location Changer allows you to change your device’s GPS location, which can be used in Instagram posts, stories, and location-based features.

168,282 people have downloaded it.
- Change GPS location on iOS device without jailbreak.
- Simulate GPS movement with custom speeds.
- Change the location of all location-based games/apps.
- Support GPS joystick to play AR game on PC.
- Multi-Device control up to 15 devices.
- Support the latest iOS 26/Android 16.
Here’s how to fake your location using MocPOGO;
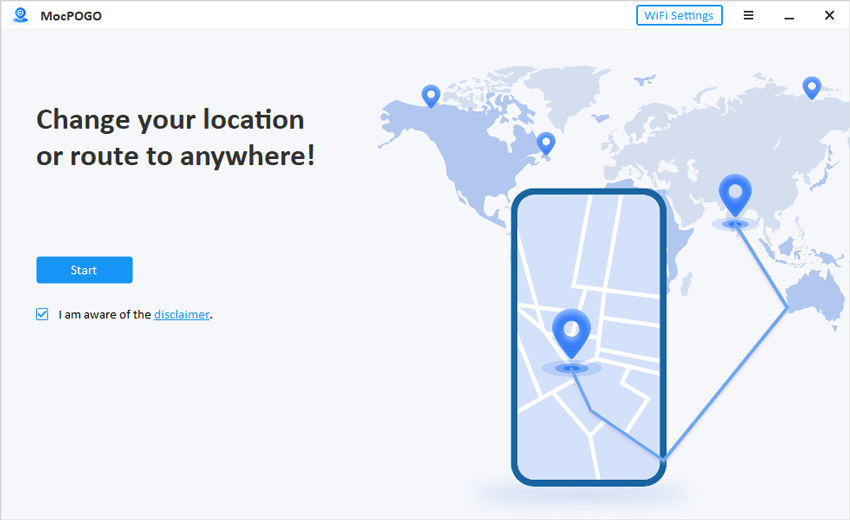
Step 1 Download and install MocPOGO on your device. Click on “Start” button.
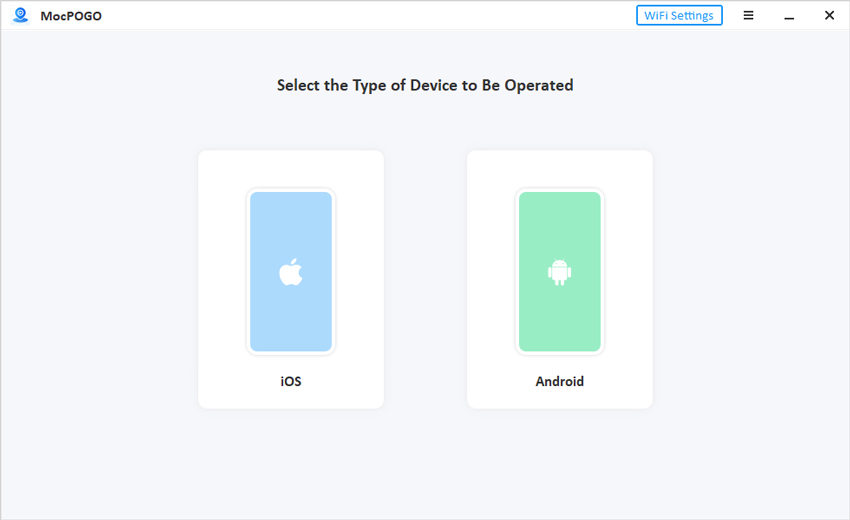
Step 2 Connect your smartphone to your computer and launch MocPOGO. The program will detect your device.
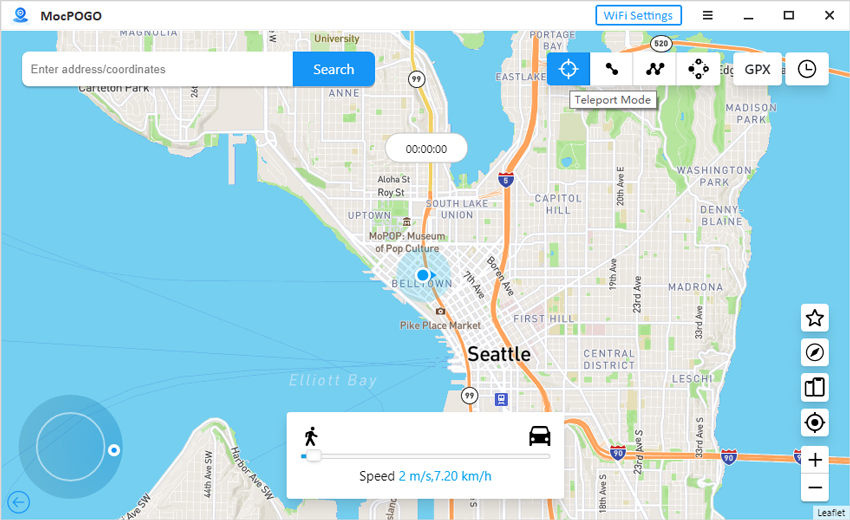
Step 3 In MocPOGO, select the “Teleport Mode” option, which allows you to change your GPS location.
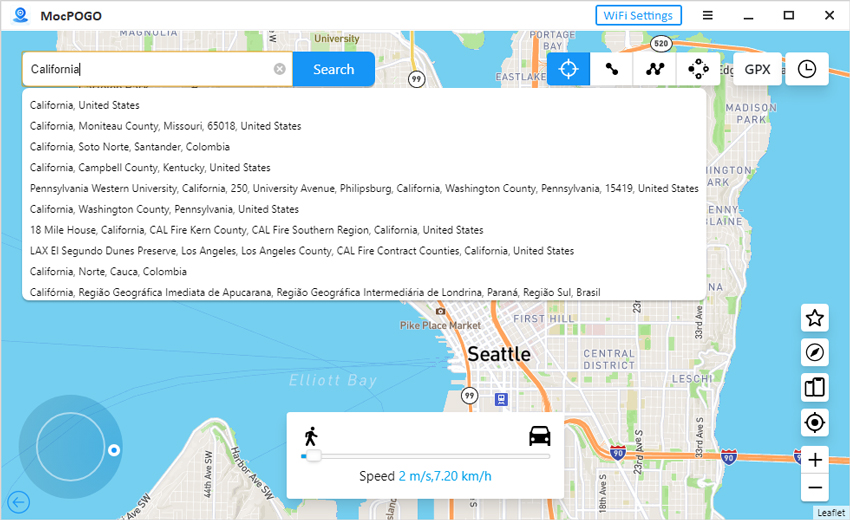
Step 4 A map will appear. Search for your desired location by typing in the place’s name or dragging the pin on the map.
Step 5 Once you’ve selected the fake location, click “Go” to set it as your current location.
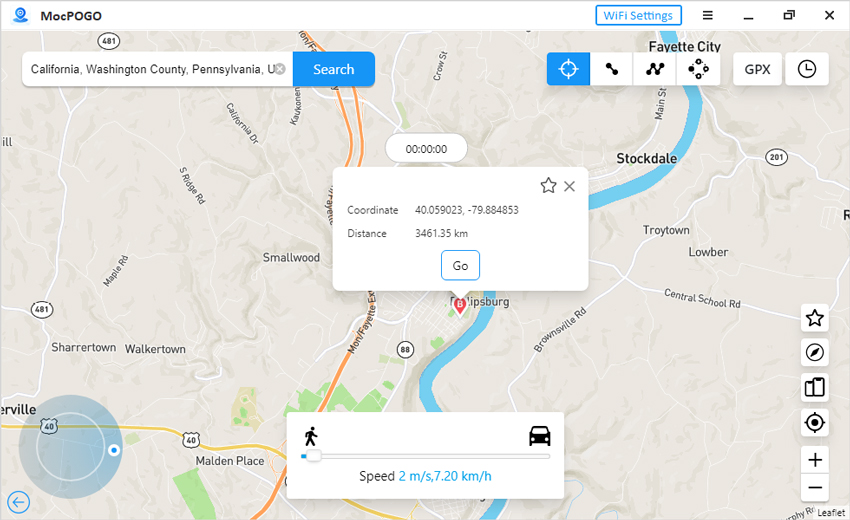
Step 6 Now, open Instagram on your phone and create a new post or story. When adding a location, Instagram will show your fake GPS location set by MocPOGO.
By using MocPOGO, you can trick Instagram into believing that you are in a different place, which can be helpful for sharing posts from popular spots or keeping your actual location private.
FAQs: More You May Want to Know About Instagram Location
1. Can I Create Location on Instagram without Facebook?
Yes, you can create a custom location on Instagram without using Facebook by utilizing tools like MocPOGO. MocPOGO allows you to fake your GPS location, enabling you to tag places that may not exist on Instagram. By using its “Teleport Mode,” you can manually set a location of your choice on the map.
2. What Should I Do If the Added Location Doesn’t Appear on Instagram?
If the location you’ve added doesn’t appear on Instagram, first check if it exists on Facebook, as Instagram pulls its location data from there.
Conclusion
In conclusion, knowing how to add location on Instagram can enhance your posts, making them more discoverable and engaging. Whether you’re looking to tag a famous place or learn how to add your business location on Instagram, it’s a simple process through the app. If you need help with how to add a new location on Instagram or trying to add one that doesn’t exist, tools like MocPOGO GPS Spoofer offer a quick solution. MocPOGO’s “Teleport Mode” allows you to fake your GPS location, giving you flexibility and control over your Instagram tags without relying on Facebook’s location services.
